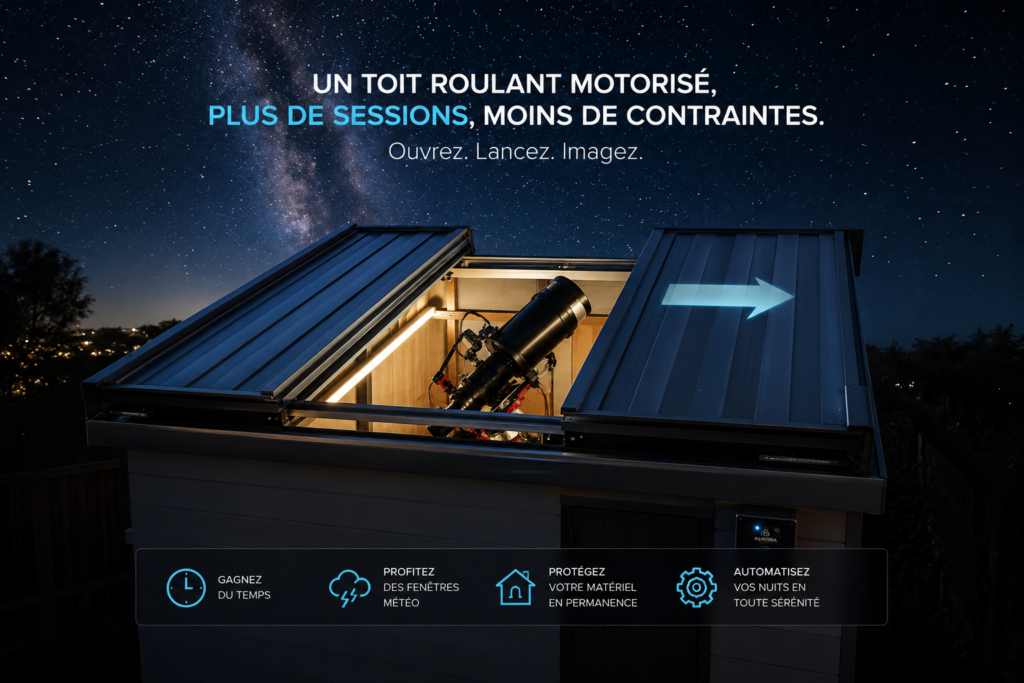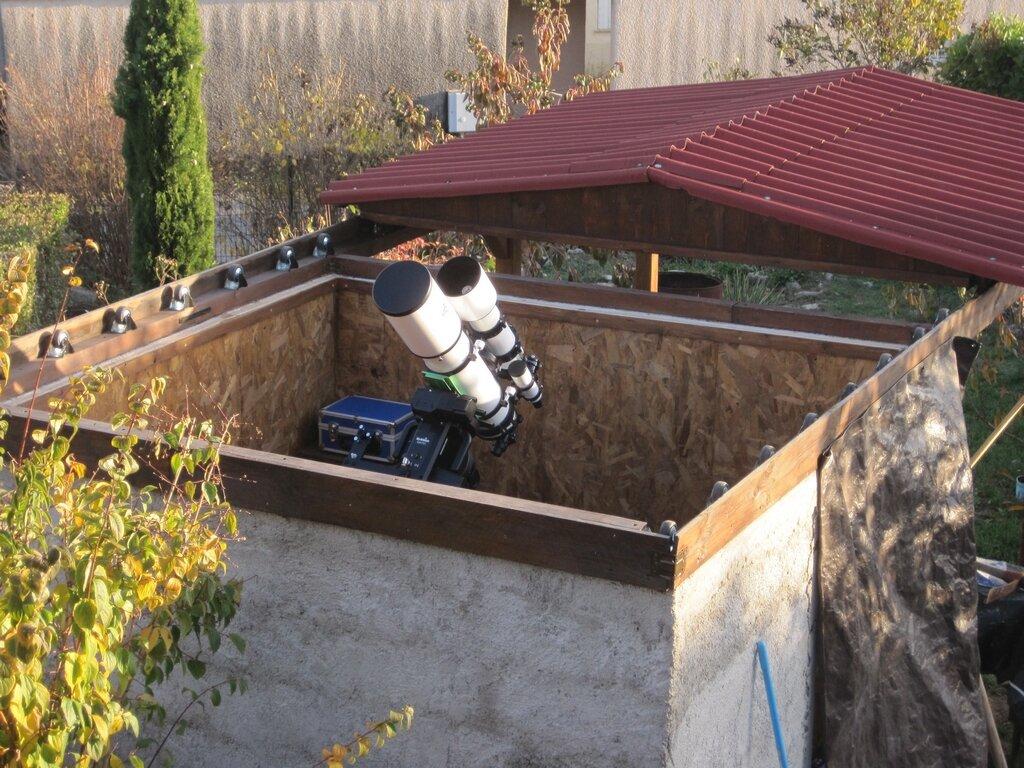
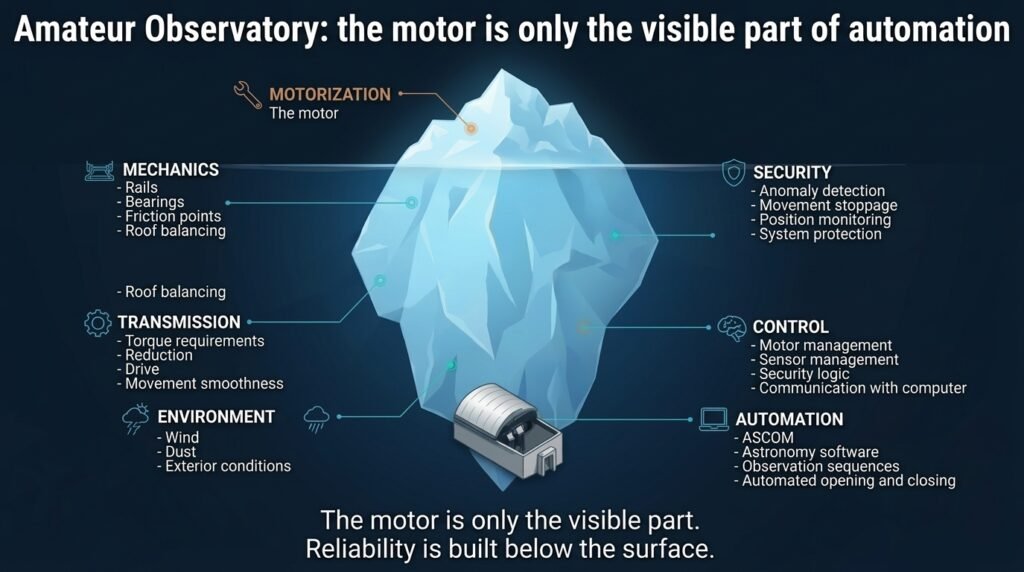
A roll-off roof can seem intimidating, especially when it has to move a structure weighing several hundred kilograms.
Yet the principle is simple. And there is one surprising fact: a heavy roof does not necessarily require a huge motor.
What matters is the actual force needed to move it. A well-balanced roof, properly aligned and rolling smoothly, may require less effort than a lighter roof that has been poorly designed. The required force also depends on the location of your observatory, as wind and climate introduce additional constraints.
That is why you should not start by choosing a motor. Start with the observatory building, its surroundings, and the simplest way to design a removable roof. The motor comes later, with automation already in mind.
In this article, you will discover a five-step approach, the role of the controller and its sensors, common mistakes to avoid, and how to automate your roof.
The five-step approach
Step 1: Understand your site and its environment
Before drawing anything, take a close look at your location. Your region, altitude, and site exposure all create constraints that should be considered from the beginning.
- Wind. A roof presents a large exposed surface. Strong winds can slow it down, lift it, or push it, changing the force required from the motor. Is your observatory sheltered or in an exposed location? Which way do the prevailing winds come from?
- Snow and ice. Snow adds weight to the roof, while ice can increase resistance in the rails and rollers. Many installations use heating wires, but even a thin layer of remaining snow or ice must be considered when sizing the system. During the design stage, also make sure the roof is accessible enough to clear snow when necessary.
- Rain, humidity, dust, and temperature variations. These factors affect wear, corrosion, and friction over time.
A simple rule: size your motor for the worst reasonable conditions at your site, not for a calm day.
Step 2: Start with the observatory structure
Next, assess your building:
- its shape and dimensions;
- the structure that will support and guide the moving roof;
- the space required for the roof to open completely;
- the simplest removable-roof design suited to the building.
The simplest solution is almost always the best: fewer moving parts, fewer adjustments, and fewer opportunities for something to jam.
Step 3: Design the roof and rolling mechanism
Once you have chosen the basic design, you can size the structure, rails, and rollers. Three elements work together.
The structure must be sufficiently rigid to maintain its geometry and properly balanced so that it moves smoothly. Avoid deformation, binding points, unnecessary friction, and alignment problems.
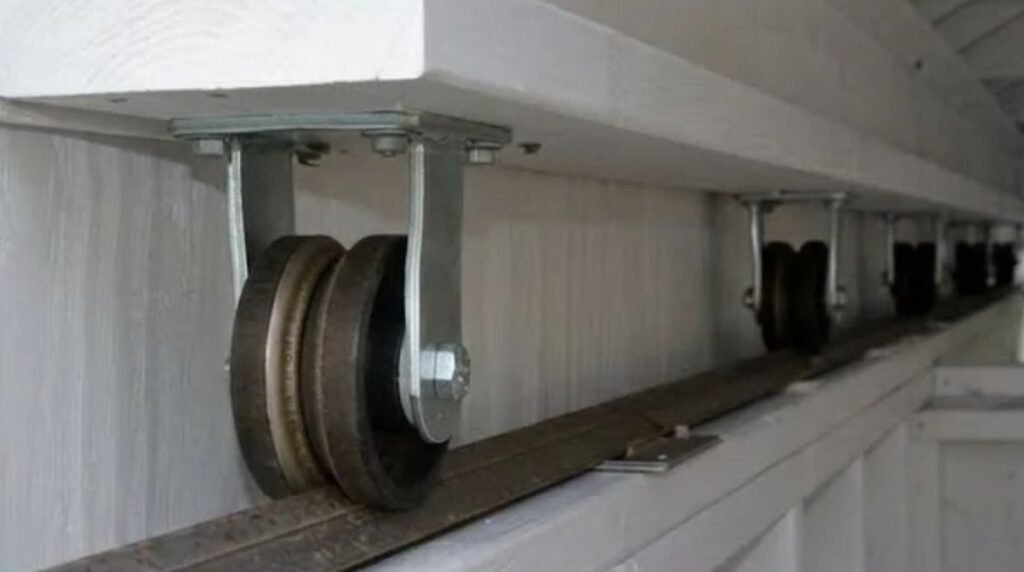
The rails guide the roof. They must be strong, stable, suitable for the load, and, above all, properly aligned. Poor alignment increases friction, requires more motor force, accelerates wear, and causes irregular movement or even a complete jam.
The rollers support the structure. This is where it becomes clear why weight alone is not enough to select a motor. Consider two roofs:
- Roof A: heavy, but perfectly balanced and rolling effortlessly.
- Roof B: lighter, but with one roller binding and poorly aligned rails.
Roof A may be easier to move than Roof B. The motor does not lift the roof’s weight; it overcomes resistance to movement. Poor mechanical design cannot be turned into good mechanical design simply by adding a more powerful motor. That is why roof design must come before motor selection.
Step 4: Choose the type of motor
Once the mechanical system has been validated, the motor can drive the roof. Several solutions are available.
The choice depends on the weight, rolling resistance, drive mechanism, desired speed, forces specific to your site, and a reasonable safety margin. An undersized motor may struggle and eventually stall. A significantly oversized motor costs more and places unnecessary stress on the mechanics.
Step 5: Plan for the controller and its sensors, even if automation comes later
Many owners install a motorized roof first and add automation a few months later. This is a perfectly reasonable approach, provided they ask themselves one question before buying the motor:
With this type of motor, will I be able to find a suitable controller easily, including compatible position sensors?
A controller cannot necessarily operate every type of motor or read every type of sensor. A motor that is perfectly suited to the mechanical system may prove incompatible with your planned controller. Changing either component afterward can mean rebuilding part of the installation.
The motor, controller, and sensors must be considered together before you buy anything.
From a Motorized Roof to an Automated Roof: The Controller and Its Sensors
A motor can drive a mechanism. It cannot answer the question: “Where is the roof?”
To determine its position, you need position sensors. But a sensor never works alone: it is connected directly to the controller, to which it sends its information. The controller reads that information, determines whether the roof is open, closed, moving, or in an unexpected position, and decides whether to start, stop, or disable the motor.
This combination of sensors and controller is what turns a motorized roof into an automated roof.
Imagine issuing a close command. The controller must be able to verify, using the sensors, that the roof has actually reached the closed position.
A command without feedback is not true automation.
The role of the controller
The motor moves the roof, the rails guide it, and the rollers support it. The controller coordinates the entire system. It can manage:
- opening and closing;
- motor operation;
- sensors and position information;
- safety functions;
- communication with astronomy software.
The controller is also the connection point for the sensors: it reads and interprets their signals. Together with the type of motor, it determines which types of sensors are compatible with the system. This is an important selection criterion in its own right.
What happens when something goes wrong?
This is one of the most important aspects of an automated observatory. Depending on its design, the controller must be able to respond to abnormal situations such as:
- an obstacle in the roof’s path;
- a mechanical jam;
- an unexpected position;
- a sensor that fails to confirm the position;
- an electrical fault;
- a communication problem.
Safety must therefore be considered from the design stage, not added after the motor has been installed.
The roof as part of the observatory system
Automation becomes particularly useful when the roof communicates with the rest of the installation. Environments such as ASCOM allow compatible astronomy equipment to communicate with one another.
Astronomy software → roof controller (connected to its sensors) → motor → roll-off roof
The roof then becomes an integral part of the automated observatory. The goal is no longer simply to run a motor, but to make the mechanics, motor, sensors, safety functions, controller, and software work together.
Aurora 2.0: A Controller Designed for Automation
Aurora 2.0, developed by AstroRemote Systems, is designed to operate an observatory roll-off roof and integrate it into an ASCOM-compatible environment. It manages roof opening and closing, either on command or according to a schedule, and includes an anti-collision function designed to prevent collisions between the roof and the telescope.
Its safety system is based on 17 protections distributed across three levels, because safety should never depend on a single component.
- Hardware provides physical monitoring and protection functions. This is the first level of protection.
- Firmware manages the controller’s internal logic and processes information from connected components.
- The driver and utility software enable communication with the controller and its integration into the observatory.
Which motors and sensors work with Aurora 2.0?
Aurora 2.0 is compatible with sliding-gate and garage-door motors that use a type of sequential control technology. It is supplied with its own roof-position sensors, as well as the cables needed to connect the motor and computer.
What astronomers appreciate about the system:
- Designed and manufactured in France.
- Support available in French.
- Ready-to-install controller, with no assembly kit required.
- ASCOM drivers and dedicated Windows utility software.
Can You Build Your Own Automated Roll-Off Roof?
Yes. This is one of the reasons roll-off-roof observatories are so popular with amateur astronomers. The key is to follow the right sequence:
- Assess the site and the observatory structure.
- Choose the simplest removable-roof design.
- Build the structure and install the rails and rollers.
- Check that the roof rolls smoothly.
- Select the motor, making sure that a suitable controller and compatible sensors will be available.
- Install the controller and its position sensors, then connect them.
- Integrate the system with your astronomy software.
Even if steps 6 and 7 are postponed, they should be planned during step 5. This approach allows you to solve mechanical problems before adding the complexity of automation.
The Six Most Common Mistakes
- Choosing the motor before assessing the site and the observatory structure.
- Making the roof more complicated when a simpler design would work.
- Neglecting rail alignment.
- Focusing only on weight, rather than rolling resistance and environmental conditions.
- Buying a motor without checking that a compatible controller is available.
- Leaving sensors and safety until the end, or selecting them independently of the controller.
So, Where Does the Real Challenge Lie?
Making a roof move is relatively straightforward. Making it operate reliably, under control, and safely requires a methodical approach.
A properly automated system must be able to receive a command, operate the motor, determine the roof’s position through its sensors, manage safety functions, detect certain faults, and communicate with the astronomy software environment.
It is this combination that distinguishes a motorized roof from an automated roll-off roof.
Key Takeaways
- Start with the site and the observatory structure, not the motor.
- Weight alone is not enough to select a motor. Rolling resistance and environmental conditions determine the actual force required.
- Choose the motor with automation in mind, because the controller determines which motors and sensors it can work with.
- Automating a roof means more than adding a motor. The motor, sensors, safety functions, and software must work together.
That is precisely the role of a dedicated controller such as Aurora 2.0.
Building Your Observatory? Start with the Right Approach
And if you’re currently considering building your own observatory, feel free to read our article on the subject. I’ll include the link below.
👉 Amateur Astronomical Observatory: 12 Things to Consider Before You Build
Subscribe to our newsletter
Get early access to our latest articles, practical tips for your astronomical observatory, and exclusive offers.