Learn how to prevent condensation in an astronomical observatory with proper ventilation, humidity control, air vents, and practical design solutions.
Building an amateur astronomical observatory is an exciting project. Most people naturally focus on the rolling roof, the permanent pier, or automation.
However, one critical aspect is often overlooked: humidity management.
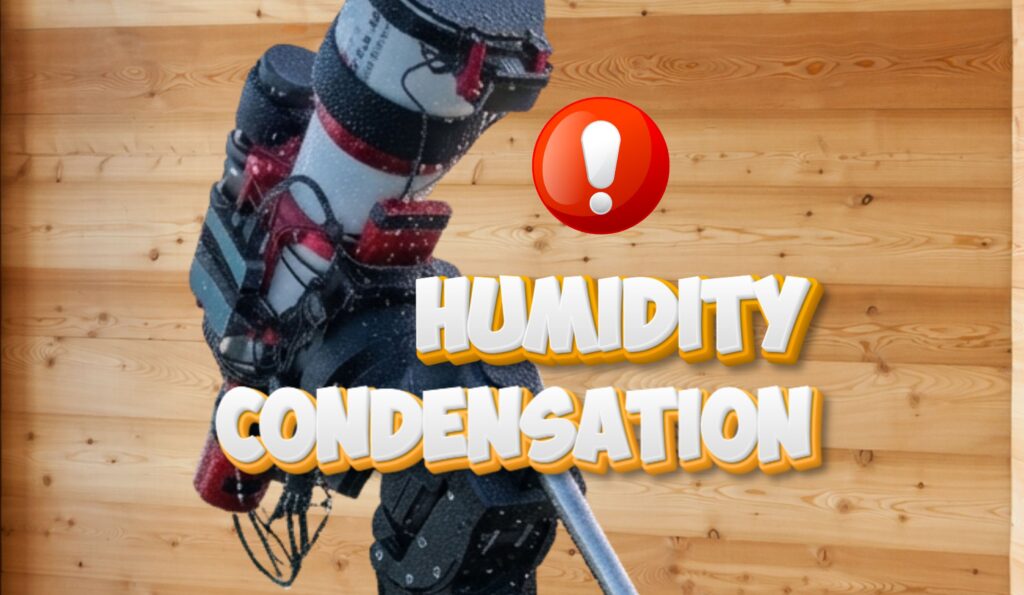
Condensation is one of the greatest enemies of an observatory. It can form even without rain or water leaks, simply when humid air comes into contact with surfaces that have cooled below the dew point.
Over time, poor humidity control can lead to:
- Corrosion of metal components
- Oxidation of electrical connectors
- Premature aging of electronic equipment
- Mold growth
- Material degradation
- More frequent maintenance of optical equipment
A well-designed observatory doesn’t simply keep rain out—it also allows moisture to escape naturally.
Why Does Condensation Form?
Air always contains a certain amount of water vapor.
During an observing session, several parts of the observatory gradually cool down:
- The roof
- Rails
- Fasteners and hardware
- Telescope mount
- Optical tube
- Electronic accessories
When these surfaces cool below the dew point, the water vapor in the air condenses into tiny droplets.
This is exactly the same phenomenon as:
- Morning dew on the grass
- Fog forming on a window
- Moisture appearing on a cold glass
Condensation is therefore a completely natural process. The goal is not to eliminate it entirely, but to prevent excessive moisture buildup.
Common Mistakes in Amateur Observatories
| Mistake | Why It’s a Problem |
|---|---|
| Trying to make the observatory completely airtight | Moisture becomes trapped inside. |
| Providing no ventilation | Humid air accumulates over time. |
| Assuming rain is the only threat | Condensation can occur even in dry weather. |
| Installing vents that are too small | Air exchange becomes insufficient. |
| Relying only on a dehumidifier | It treats the symptom, not the cause. |
| Ignoring ground moisture | The concrete slab can continuously release moisture into the building. |
Reducing Moisture at the Source
Ventilation is essential, but it should not be the only line of defense.
When pouring the concrete slab, it is recommended to install a polyethylene vapor barrier (poly sheet) beneath the slab to reduce moisture rising from the ground.
This moisture barrier significantly reduces the continuous influx of water vapor into the observatory and complements the ventilation system.
It’s also important to:
- Prevent standing water around the building.
- Properly seal doors, windows, and openings.
- Minimize water infiltration through the roof and walls.
The Principle of Effective Ventilation
Good ventilation relies on one simple principle:
Allow fresh air to enter while letting humid air escape.
The most effective configuration generally includes:
- A low-level air intake
- A high-level exhaust vent
- Airflow passing through the entire building
Two natural phenomena help create continuous air circulation.
Stack Effect
Warm air naturally rises.
A vent placed near the top of the observatory gradually removes warm, moisture-laden air.
Wind
Wind creates pressure differences around the building.
A low intake vent positioned on the prevailing wind side can improve natural airflow.
However, the design must strike a balance between:
- Promoting air circulation
- Preventing wind-driven rain from entering the observatory
Where Should Ventilation Grilles Be Installed?
There is no universal orientation that works for every observatory.
The key principle is to create cross ventilation.
Ideally:
- The lower intake vent faces the prevailing winds.
- The upper exhaust vent is located on the opposite side.
- Both openings are protected against rain and insects.
For example, in parts of Normandy and along France’s Atlantic coast, prevailing winds often come from the west or northwest.
Positioning the air intake toward these winds can improve natural airflow.
However, local conditions remain important. An observatory sheltered by trees, a hedge, or a wall will experience very different airflow compared to one located in an open field.
Sizing Ventilation Grilles Based on Observatory Volume
Choosing ventilation grilles isn’t simply about their physical dimensions.
The most important specification is their airflow capacity, expressed in m³/h (cubic meters per hour).
The basic calculation is:
Required airflow = Observatory volume × Air changes per hour
Example
A 40 m³ observatory requiring one complete air change per hour needs approximately:
40 m³/h of airflow
This means you should install:
- A lower intake grille rated at approximately 40 m³/h
- An upper exhaust grille rated at approximately 40 m³/h
Both vents should have similar airflow capacities to maintain balanced air circulation.
Recommended Air Exchange Rates by Construction Type
| Construction Type | Condensation Behavior | Recommended Air Changes | Example for a 40 m³ Observatory | Vent Capacity |
| 🪵 Wooden cabin | Wood naturally buffers some humidity but can retain moisture if air remains stagnant. | 0.5–1 air change/hour | 20–40 m³/h | Intake: 20–40 m³/h • Exhaust: 20–40 m³/h |
| 🔩 Metal structure | Metal cools rapidly and reaches the dew point more easily. | 1–2 air changes/hour | 40–80 m³/h | Intake: 40–80 m³/h • Exhaust: 40–80 m³/h |
| 🧩 Resin or PVC shed | Poor vapor permeability can trap indoor humidity. | 1–1.5 air changes/hour | 40–60 m³/h | Intake: 40–60 m³/h • Exhaust: 40–60 m³/h |
| 🧱 Masonry building | High thermal mass limits rapid temperature changes but moisture may accumulate over time. | 0.5–1 air change/hour | 20–40 m³/h | Intake: 20–40 m³/h • Exhaust: 20–40 m³/h |
These figures are general guidelines and should be adjusted according to:
- Local climate
- Wind exposure
- Building airtightness
- Frequency of use
Adapting Ventilation to Your Climate
| Climate | Main Risk | Recommendation |
| 🌧️ Oceanic | High humidity and damp nights | Provide continuous ventilation protected from rain. |
| 🌡️ Continental | Large temperature swings | Monitor the dew point and ensure good airflow. |
| ☀️ Mediterranean | Rapid nighttime cooling despite relatively dry air | Do not underestimate nighttime dew formation. |
| ❄️ Mountain | Rapid surface cooling | Pay special attention to insulation and ventilation. |
| 🌴 Tropical | Constant high humidity | Use increased ventilation, possibly with mechanical assistance. |
Natural or Mechanical Ventilation?
For most amateur observatories, well-designed natural ventilation is entirely sufficient.
Its advantages include:
- Simple
- Silent
- Reliable
- No electrical consumption
Mechanical ventilation becomes beneficial when:
- The building is very airtight.
- The climate is exceptionally humid.
- The observatory remains closed for extended periods.
In these cases, a small fan controlled by a humidistat can accelerate moisture removal.
However, even the best mechanical system can never compensate for poor building design.
Best Practices
Before building your observatory:
- Install a moisture barrier beneath the concrete slab.
- Provide a low air intake and a high exhaust vent.
- Select ventilation grilles based on their airflow rating (m³/h).
- Match the ventilation rate to the building material.
- Consider the prevailing local winds.
- Protect ventilation openings from rain and insects.
- Monitor humidity using a thermo-hygrometer.
Conclusion
Condensation is a natural phenomenon in any astronomical observatory. It cannot always be eliminated, but it can be effectively controlled.
A well-designed observatory is built around three fundamental principles:
- Reduce moisture sources.
- Ensure adequate air exchange.
- Adapt the design to both the building type and the local climate.
A great observatory is more than just a place where the roof opens to reveal the stars—it’s an environment specifically designed to protect your equipment for years to come, allowing you to spend more time enjoying your passion.