Amateur Astronomical Observatory: 12 Critical Points to Consider Before Building
Building or automating an observatory is an exciting project — but it is also the kind of project where small oversights can become expensive problems months later. Here are 12 key points to consider, with the technical details that often make the difference.
Part 1 — Construction & Installation
1. Electrical Power Supply
Most people size their electrical circuit based on their current equipment: mount, camera, PC. They forget about the equipment they will add later: anti-dew heaters on lenses, motorized filter wheel, electronic focuser, mini PC or NUC running 24/7, future roof controller, and more.
Plan for a dedicated circuit, protected by an appropriate 30 mA residual current device (RCD) according to your installation — not just an extension cable running from the house.
Also consider an UPS (Uninterruptible Power Supply): a micro power interruption lasting less than a second can be enough to lose tracking during a long exposure, or interrupt a motorized roof system while it is moving.
2. Cable Routing
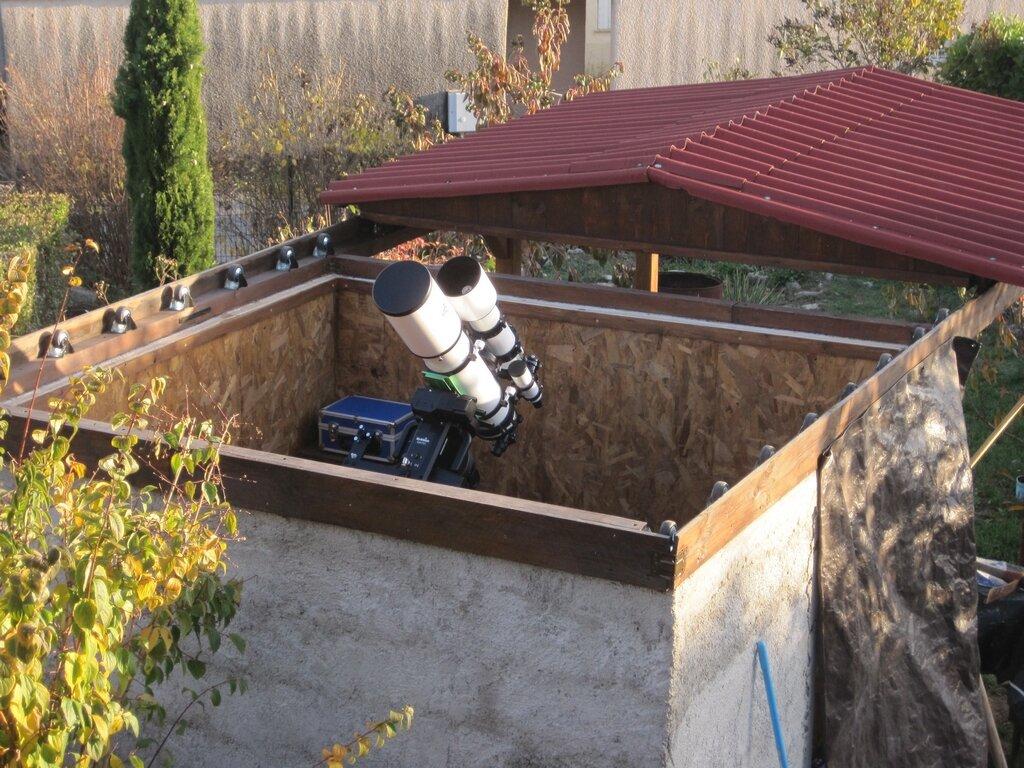
The mistake is not forgetting to install cable conduits — it is installing only one. Always plan for at least two separate conduits: one for power cables and one for low-voltage and data cables (network, sensors, USB extensions).
Running both types of cables in the same conduit can create electromagnetic interference, resulting in guiding noise or random USB disconnections in the field. Use two 40 or 60 mm ICTA conduits rather than 20 mm — the additional cost is negligible compared to having to redo the installation later.
If the distance between your house and observatory is more than a few meters, plan for an intermediate pull box. Without one, a cable stuck halfway through the run can be extremely difficult to recover.
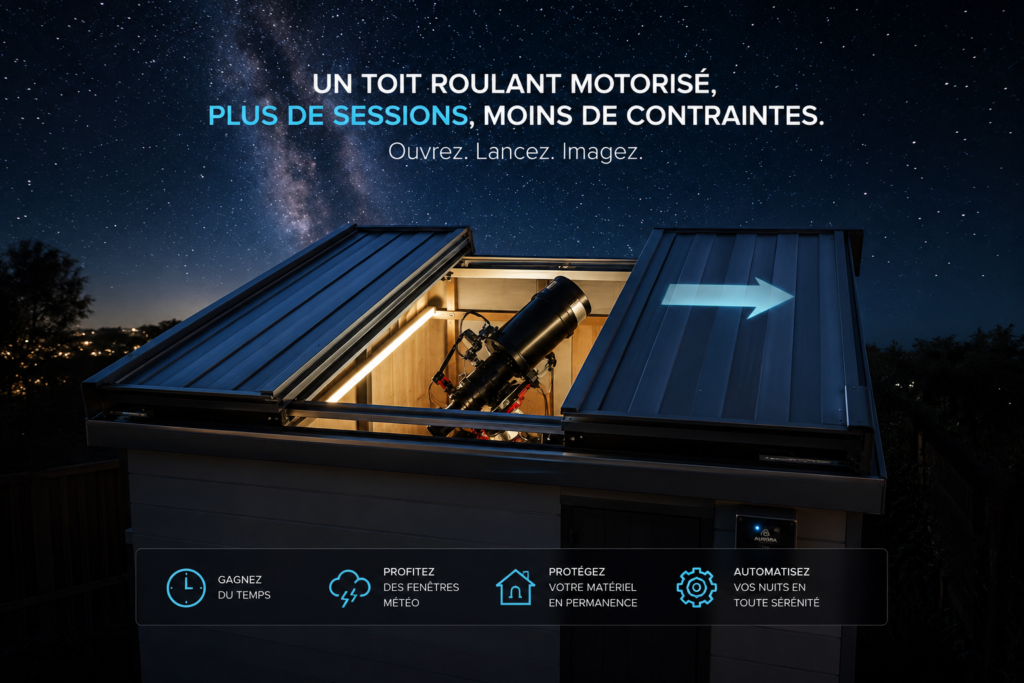
3. Rolling Roof Safety
A simple mechanical limit switch can become blocked by frost or humidity. Choose reliable limit sensors protected against outdoor conditions, ideally with a redundant safety system.
Also make sure the motorization includes obstruction detection: monitoring the motor effort and stopping the system if abnormal resistance is detected.
An emergency stop that is physically accessible, even in complete darkness at night, completes the safety system.
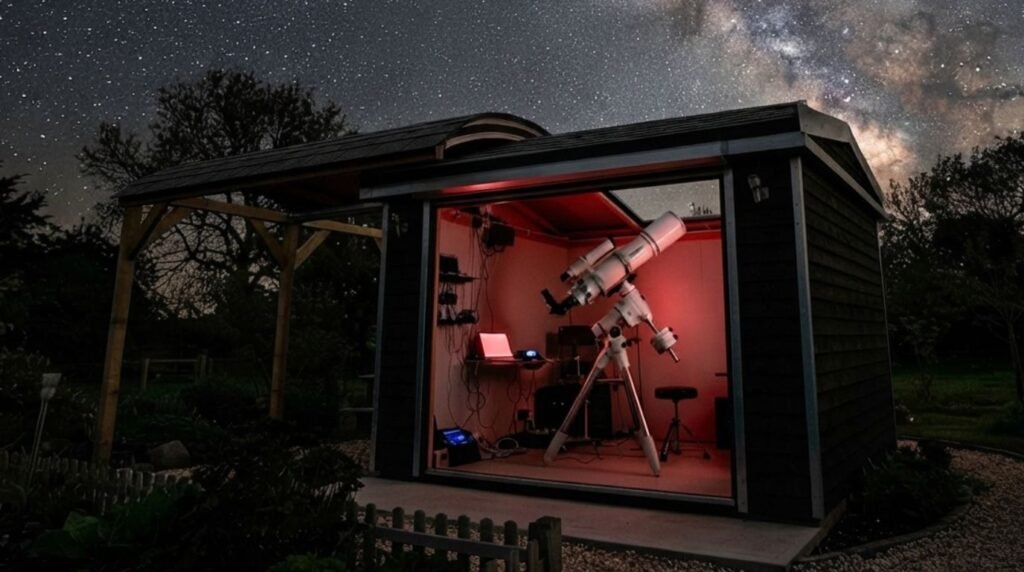
4. Ventilation
Condensation is not random — it is physics: warm, humid air coming into contact with a cold surface (electronics exposed outside all night) reaches its dew point and water forms.
An observatory that is too well insulated, like a living space, can actually trap humidity instead of allowing it to escape.
The solution: low and high ventilation openings to create natural air circulation, optionally combined with an extractor controlled by a humidity sensor.
5. Network (Wi-Fi or Ethernet)
Home Wi-Fi can become unstable depending on distance, obstacles, and interference generated by electrical equipment.
A dedicated Cat6 Ethernet cable installed in its own conduit remains the most reliable solution.
If running a cable is impossible, a dedicated point-to-point Wi-Fi bridge (two antennas with direct line of sight) is usually much more stable than a simple repeater.
If you have several network devices in the observatory (IP camera, switch, controller), a small PoE switch avoids multiplying individual power supplies.
6. Automation
Even if you are not installing a controller such as Aurora 2.0 from the beginning, wire your observatory as if you will: labeled terminals for the motor, and a dedicated empty conduit reserved for future automation.
The difference between “installing a controller in one evening” and “having to dismantle everything” is decided at this stage.
Part 2 — Problems Discovered Too Late
7. Orientation and Sky Clearance
Do not rely only on the horizon as it looks on the day of construction. Check the sun’s position at the solstices to anticipate shadows from growing trees, and consult your local planning documents to identify possible future construction projects nearby.
Look for the best possible clearance in your main observation directions: even a few degrees can make a difference depending on the objects you want to photograph (ideally at least 20–25° above the horizon).
8. Lightning Protection and Grounding
If your observatory is powered from your house, its grounding system must remain connected to the same grounding network as the main installation.
If necessary, you can improve the grounding by adding one or more interconnected grounding rods. Add appropriate surge protection if the installation and location require it.
Finally, no surge protector replaces the most effective protection during a severe storm: physically disconnecting sensitive electronic equipment.
9. Wind Resistance
The motor must be sized according to the roof weight, but also according to the forces created by wind. An undersized motor may struggle to open or close the roof in difficult conditions.
To help you make the right choice, we have written a complete guide:
Automating Your Observatory: Which Motor Should You Choose for Your Rolling Roof?
10. Plan for Power Outages
A power outage can happen at the worst possible moment. Before purchasing a motor system, check exactly how it behaves during a power failure.
Avoid systems that automatically close the roof without first confirming that the telescope is safely parked: a collision can seriously damage your equipment.
Choose a motorization system with backup power (integrated battery or UPS) capable of keeping the system powered long enough to complete a safe sequence: park the telescope, then close the roof.
Finally, consider setting up an SMS or email alert when a power failure is detected, so you are notified immediately rather than discovering the problem the next morning.
11. Noise Levels
The drive system has a major impact on the noise level of your observatory. Chain drives, rack-and-pinion systems, and worm drives can behave very differently depending on the design, adjustment, and build quality.
If your observatory is close to a home or property boundary, test the motor before the final installation.
Choosing the right motorization is always easier before the complete assembly… rather than after the first complaint from a neighbor.
12. Future Expansion
Plan an electrical panel with spare breaker capacity, as well as a weatherproof enclosure with enough physical space for future equipment: router, controller, additional camera, or new accessories.
The expensive part is never the extra space you planned for — it is the space you are missing when you need it.
The Common Point Behind These 12 Topics
Everything is easy to solve if you think about it before construction — not afterwards.
Rolling roof safety and power outage management are two particularly critical areas because mistakes can lead to significant equipment damage.
This is exactly what Aurora 2.0 is designed for: obstruction detection and reliable control compatible with ASCOM / N.I.N.A.
f you would like to receive our upcoming blog articles and get more advice about building and automating your observatory, subscribe to our newsletter.
Astronomy #AmateurAstronomy #AstronomicalObservatory #Observatory #RollOffRoof #Astrophotography #Telescope #RemoteObservatory #ObservatoryAutomation #ASCOM #NINA #Aurora2